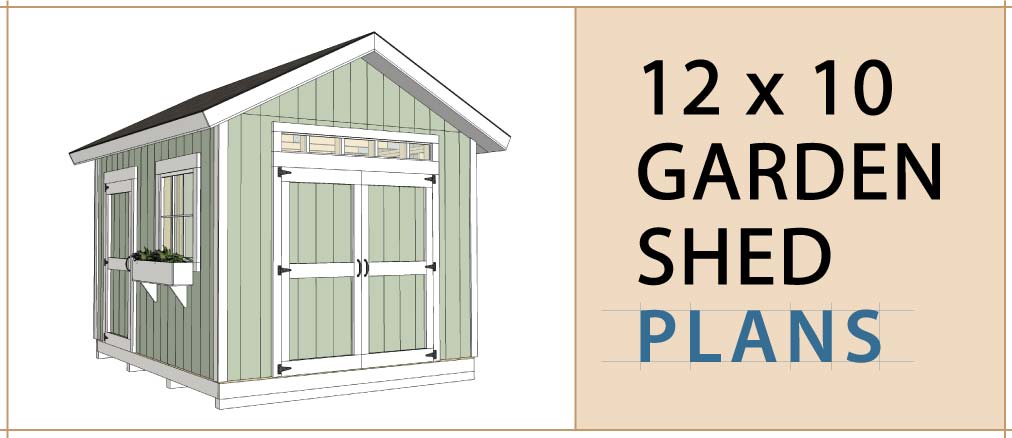
A Beginner's Guide to DIY 10x16 Shed Plans with 8-Foot Ceilings

A Beginner's Guide to DIY 10x16 Shed Plans with 8-Foot Ceilings
Building a shed is a rewarding project that can enhance your property's functionality and aesthetics. This comprehensive guide will walk you through the process of constructing a durable and attractive 10x16 shed with an 8-foot ceiling, suitable for various purposes, from storage to workshops.
1. Planning and Preparation
1.1 Design and Purpose:
Before you begin, carefully consider the shed's intended purpose. Will it primarily be used for storage, a workshop, or a combination of both? This will influence your design decisions, such as the door size, window placement, and interior layout.
1.2 Site Selection and Permits:
Choose a level and accessible site for your shed. Consult local building codes and obtain necessary permits. Ensure the location complies with setbacks and other regulations.
1.3 Materials and Tools:
Create a detailed materials list, including:
- Pressure-treated lumber for the foundation and floor joists
- Lumber for framing the walls and roof
- Plywood for sheathing and subfloor
- Roofing materials (shingles, underlayment, etc.)
- Siding and trim
- Doors and windows
- Hardware (screws, nails, fasteners, etc.)
- Paint or stain
Gather essential tools, such as:
- Saw (circular, miter, or table saw)
- Drill/driver
- Level
- Measuring tape
- Hammer
- Safety glasses and gloves
2. Foundation Construction
2.1 Foundation Options:
For a 10x16 shed, consider these foundation options:
- Concrete Slab: Provides a sturdy and durable foundation but requires specialized skills and equipment.
- Concrete Piers: Less expensive than a slab, but require careful leveling and support.
- Pressure-Treated Skirts: Simple and cost-effective for smaller sheds, but may be less stable than other options.
2.2 Building the Foundation:
Follow the chosen foundation method carefully. For a pressure-treated skirt foundation, use 4x4 pressure-treated posts, set in concrete footings, and connect them with 2x6 or 2x8 pressure-treated lumber.
3. Framing the Walls and Roof
3.1 Wall Framing:
Construct the walls using 2x4 or 2x6 lumber. Start by building the wall panels on the ground and then raise them into position. Use a stud finder to mark wall stud locations, ensuring proper spacing.
3.2 Roof Framing:
The roof framing requires a bit more attention to detail. Use 2x6 or 2x8 rafters, properly spaced and secured to the wall plates. Choose a roof pitch that suits your needs and local building codes. Common options include a 4/12 or 6/12 pitch. Install roof sheathing (plywood or OSB) over the rafters.
4. Sheathing and Siding
4.1 Wall Sheathing:
Apply plywood or OSB sheathing to the exterior walls for structural support and a smooth surface for siding. Make sure the sheathing is securely attached to the wall framing.
4.2 Roof Underlayment:
Before installing the roofing shingles, lay down a layer of roof underlayment, which acts as a water barrier.
4.3 Siding and Trim:
Install the chosen siding material, whether it's vinyl, wood, or metal. Ensure proper installation according to the manufacturer's instructions. Add trim around windows, doors, and the roof edges for a finished look.
5. Roofing and Finishing Touches
5.1 Roofing Installation:
Start at the bottom of the roof and work your way up, overlapping each row of shingles according to the manufacturer's instructions. Secure the shingles with roofing nails.
5.2 Doors and Windows:
Install doors and windows following the manufacturer's instructions. Make sure they fit properly and are securely fastened.
5.3 Interior Finishes:
Depending on your shed's purpose, you can choose from a variety of interior finishes, including drywall, paneling, or even just leaving the framing exposed.
5.4 Paint or Stain:
To protect and enhance the shed's appearance, apply a suitable paint or stain to the exterior and interior surfaces. Consider using weather-resistant paint for the exterior.
6. Safety and Maintenance
Throughout the construction process, prioritize safety. Always wear safety glasses and gloves, and be aware of potential hazards like falling objects. Regularly maintain your shed by inspecting the roof, foundation, and siding for any damage or signs of wear.
7. Conclusion
Building a 10x16 shed with 8-foot ceilings can be a rewarding and achievable project. By following these steps, you can create a durable and functional space that enhances your property's value and utility. Remember to prioritize safety, plan carefully, and enjoy the process of bringing your DIY shed vision to life.


0 comments:
Post a Comment