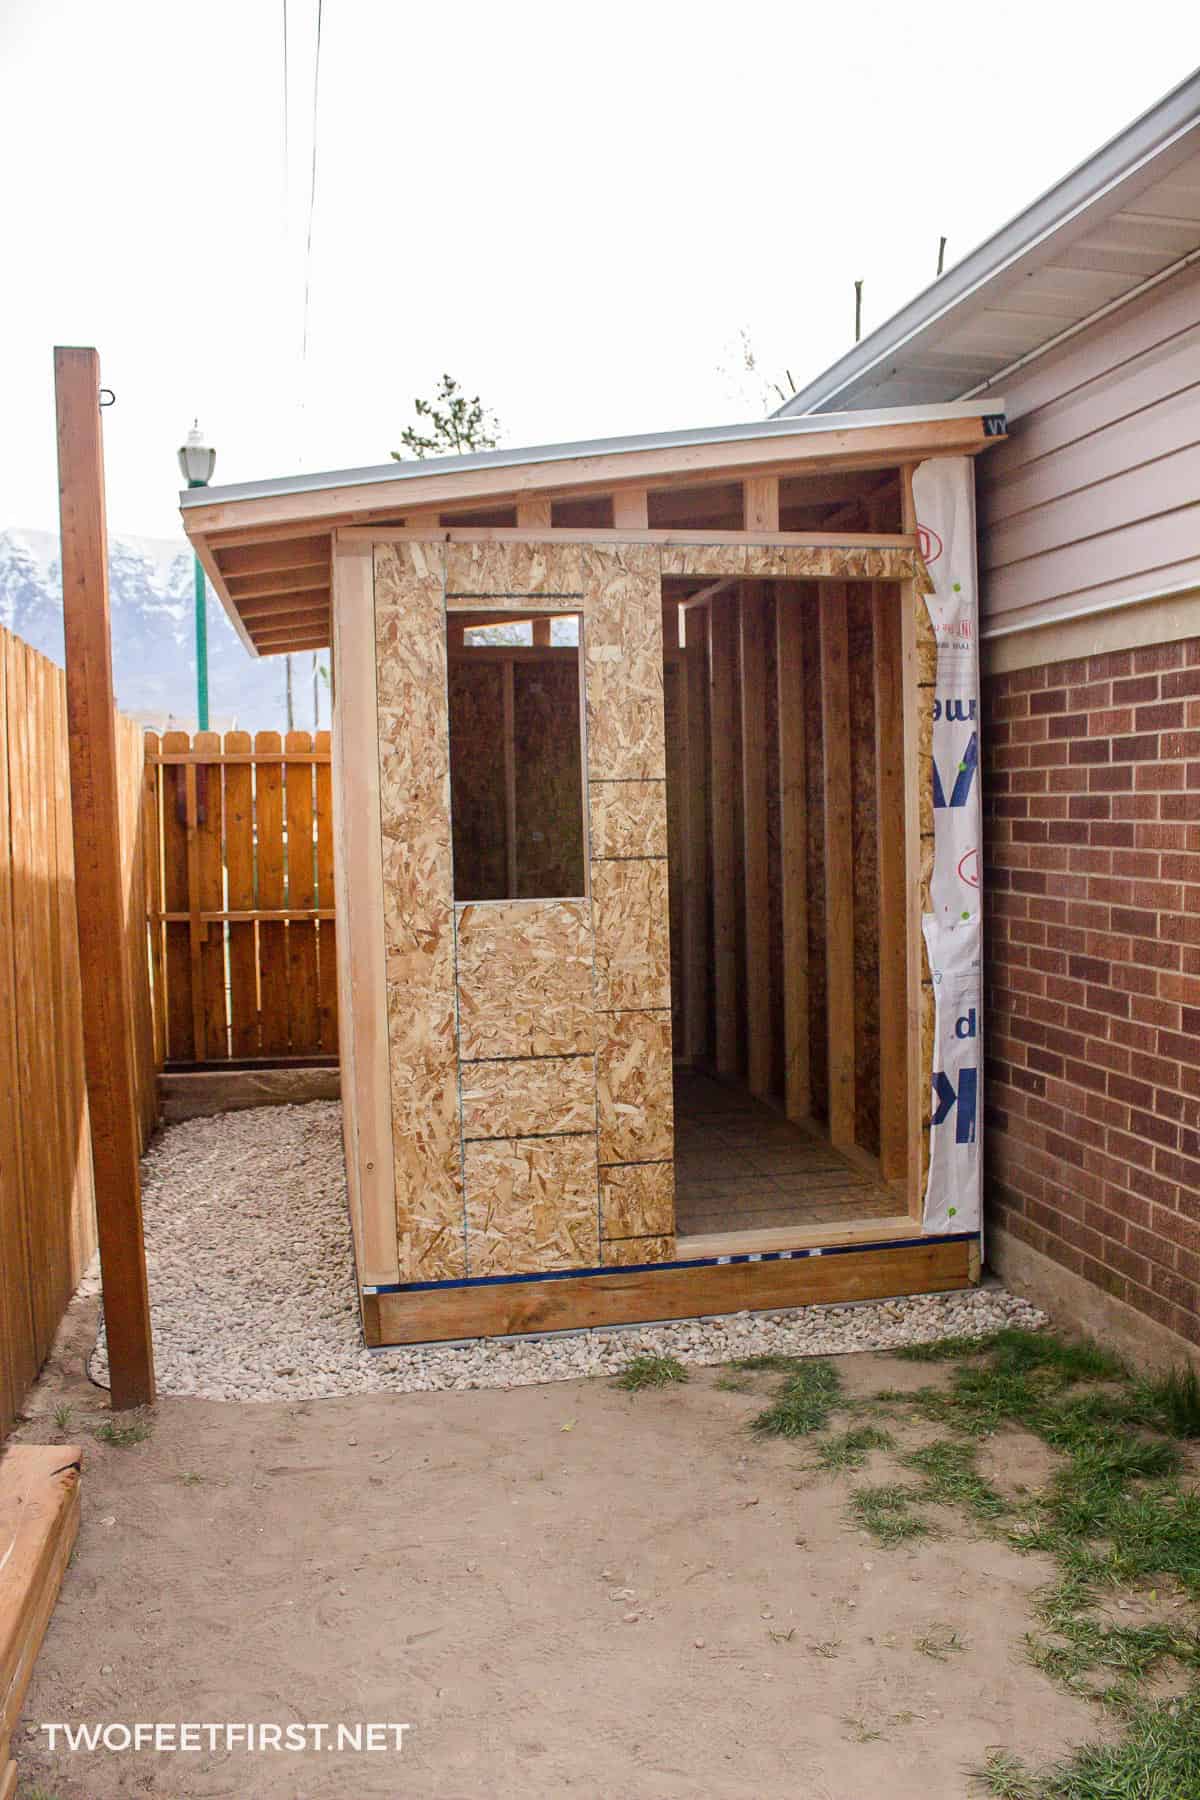
How to Build a Lean-To Shed DIY: Affordable Plans for Budget Builders

How to Build a Lean-To Shed DIY: Affordable Plans for Budget Builders
Dreaming of extra storage space without breaking the bank? A lean-to shed is the perfect DIY project for budget-conscious builders. This simple structure, attached to an existing wall (like your house or garage), minimizes material costs and construction complexity. This guide provides step-by-step instructions and tips to build your own affordable lean-to, transforming wasted space into a valuable asset. Get ready to roll up your sleeves and unleash your inner builder!
Planning Your Lean-To Shed
Before you grab your hammer, careful planning ensures a successful project. First, determine the size of your lean-to. Consider the storage needs and available space against your existing building. Next, sketch a simple design, noting dimensions and the placement of doors and windows (if desired). Remember to check local building codes; they might dictate restrictions on size, materials, or permits. Finally, compile a detailed materials list based on your design. This prevents costly mid-project trips to the hardware store.
Essential Materials:
Your materials list will vary based on your lean-to's size and desired features, but here are the essentials:
- Pressure-treated lumber for the frame (posts, beams, rafters)
- Plywood or OSB for the walls and roof
- Roofing material (e.g., asphalt shingles, metal roofing)
- Concrete or metal posts for ground support (if needed)
- Nails, screws, and other fasteners
- Building wrap or house wrap
- Paint or stain (optional)
Constructing the Frame
With your materials gathered and plans finalized, it’s time to build the frame. Start by securing the base posts. If attaching to an existing structure, ensure they are firmly fastened. If building on the ground, you'll need to set concrete footings or use metal posts for stability. Next, erect the vertical supports, ensuring they're plumb and level. Then, attach the horizontal beams, creating a sturdy framework for your walls and roof. Take your time with this step; a square and level frame is crucial for a well-built shed.
Sheathing and Roofing
Once the frame is complete, it's time to add the sheathing. This involves attaching plywood or OSB to the frame, creating a solid surface for the roofing. Begin by adding building wrap to the frame for insulation and weather protection. This step is essential to prevent moisture damage and improve the longevity of your shed. Now, attach the sheathing, ensuring tight and secure connections. Finally, install the roofing material, following the manufacturer’s instructions. Choose a material that fits your budget and climate.
Finishing Touches
With the structure complete, personalize your lean-to! Consider adding a door for easy access. A simple, pre-hung door is a budget-friendly option. You could even add windows to enhance natural light. To protect your investment, apply a coat of paint or stain, extending the lifespan of your lean-to and enhancing its curb appeal. Don’t forget to clean up the construction debris, leaving a tidy and functional workspace.
Building your own lean-to shed is a rewarding experience that combines affordability with functionality. By following these steps and prioritizing careful planning, you'll create a valuable addition to your property, all while honing your DIY skills. Happy building!


0 comments:
Post a Comment