Cheap pole shed construction: design, build, and save

Hey there, DIYers! Are you looking for a way to add some extra storage space to your property without breaking the bank? Building a pole shed is a fantastic way to get the job done. It’s cheaper than a traditional shed, and honestly, you can do a lot of the work yourself. Let's dive in and see how we can make this happen!
Step 1: Planning is Key
Before you start digging holes, it’s important to think about what you want your pole shed to be.
Size Matters: How much stuff are you going to store? Are you planning on parking a car or tractor in there? The size of your shed will determine the amount of materials you’ll need, so get that figured out first.
Location, Location, Location: Make sure you pick a spot on your property that's level and has good drainage. You'll also want to make sure your pole shed doesn't block any access to your house or other buildings.
Foundation, Foundation, Foundation: You’ll need to decide on your foundation type. Concrete piers are super sturdy, but they’re a bit more expensive. You can also use pressure-treated posts set directly into the ground, which is more budget-friendly but might not be as durable in some climates.
Permit Party: Check with your local building department to see if you need a permit for your shed. You don't want to end up with a shed that’s illegal, and that’s more headache than it’s worth.
Step 2: Design and Drawings
Now it's time to get a little more technical. Don't worry, this isn't rocket science!
A Sketch is Worth a Thousand Words: Grab a piece of paper and start sketching out your shed. You don’t need to be an artist, just get the basic dimensions and layout down. You can even use a simple online tool like SketchUp to create a 3D model.
Finding the Right Posts: The posts for your shed are the backbone of the whole structure, so you'll want to choose sturdy ones. Pressure-treated lumber is the way to go since it’s resistant to rot and decay.
Roofing Your Dreams: You can choose between a single-slope, gable, or even a gambrel roof for your shed. A single-slope is the simplest and cheapest, while a gable roof provides more headroom inside.
Wall It Up: You can use plywood or OSB sheathing for the walls of your shed. Remember to factor in insulation if you want to make it a little more comfortable.
The Finishing Touch: Think about what you want your shed to look like. You can use a variety of siding materials, such as vinyl, metal, or even wood.
Step 3: The Build Begins
Let's roll up our sleeves and start putting this thing together!
Digging Deep: Start by digging the holes for your foundation posts. The depth should be at least 3 feet, and ideally, you’ll go down to frost line (the depth below which the ground doesn't freeze in winter).
Setting the Stage: Pour concrete into the holes to set the foundation posts. If you’re using pressure-treated posts, make sure they’re treated with a preservative that’s safe for concrete.
Post-to-Post Perfection: Once the concrete has set, level the posts and attach them together to form the frame of your shed. You can use metal brackets or wood beams to connect the posts.
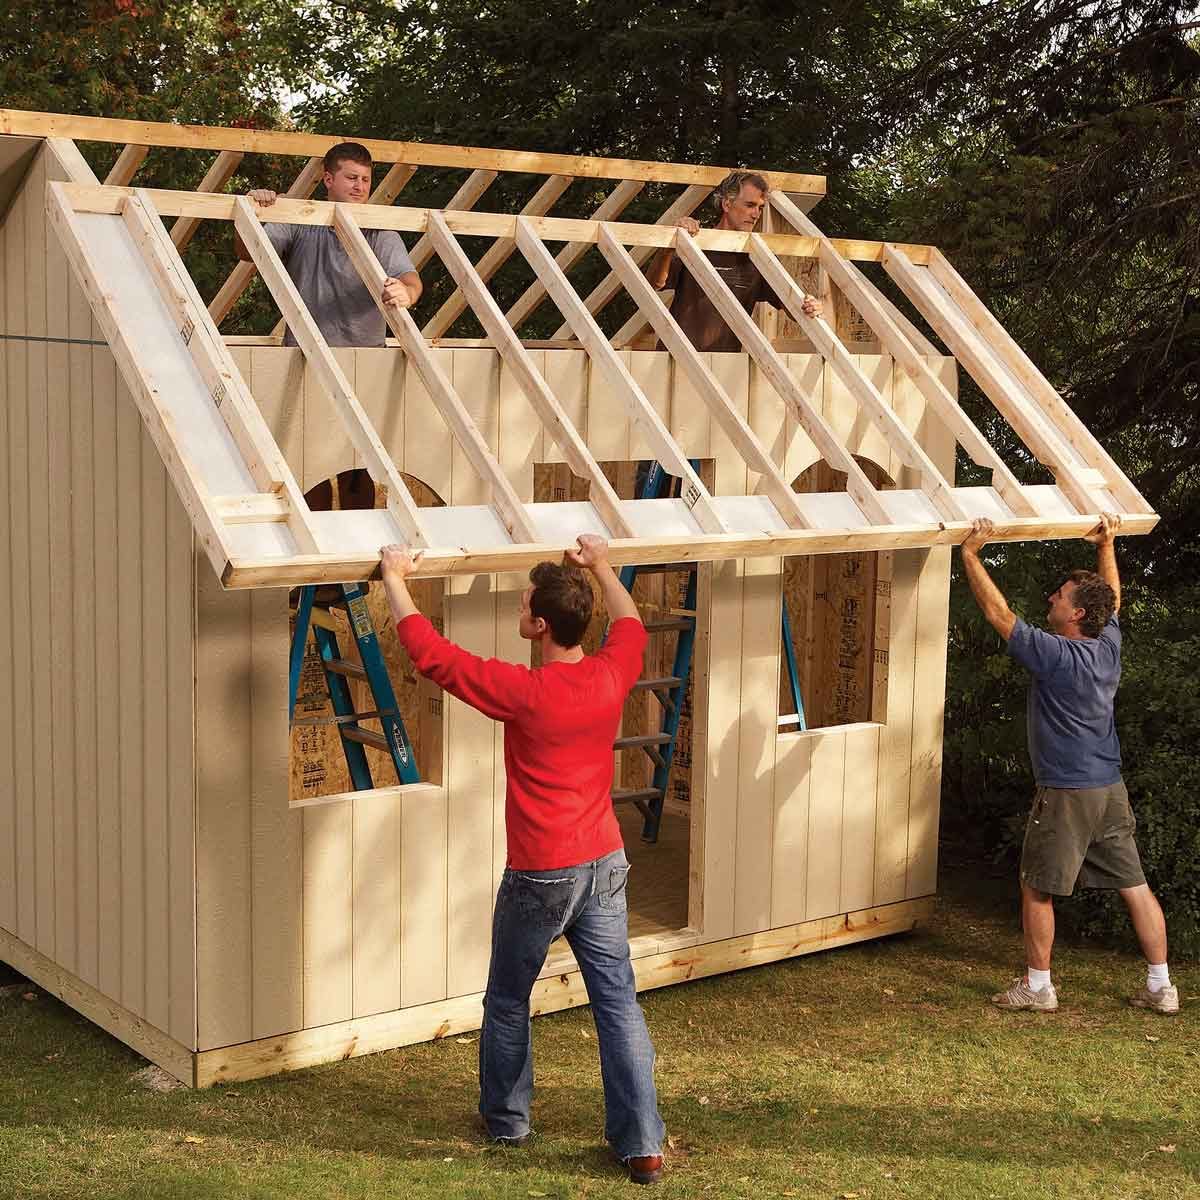
Roofing Revelation: Install the rafters and sheathing for your roof. Then, add the roofing material of your choice. Shingles are a popular choice, but you can also use metal roofing.
Walling In: Attach the wall sheathing to the posts. Make sure to use weather-resistant tape to seal any gaps between the sheathing boards.
The Finishing Touches: Install your siding, windows, doors, and any other desired features. Don't forget to add a trim around the edges of the shed for a more finished look.
Step 4: Go the Extra Mile!
Here are some bonus ideas to make your pole shed even better!
Insulate for Comfort: Adding insulation to your shed walls and ceiling will make it more comfortable to use year-round.
Add a Doorway: Make it easy to access your shed with a garage door or a pair of sliding doors.
Power Up! Consider adding electrical outlets and lights to your shed. This will make it even more functional and usable.
Don’t Forget the Flooring: If you’re planning on using your shed for anything other than storage, adding a floor is a great idea.
Accessorize: Personalize your shed with shelves, hooks, and other storage solutions. This will help you keep your things organized and make the most of your space.
Safety First
Remember to always prioritize safety while building your pole shed. Wear appropriate protective gear, use proper lifting techniques, and make sure to have a helper on hand if you need it.
Building a pole shed is a great way to save money and add value to your property. And the best part? You can do it yourself! So go ahead and get started, and enjoy the satisfaction of building something with your own two hands.


0 comments:
Post a Comment