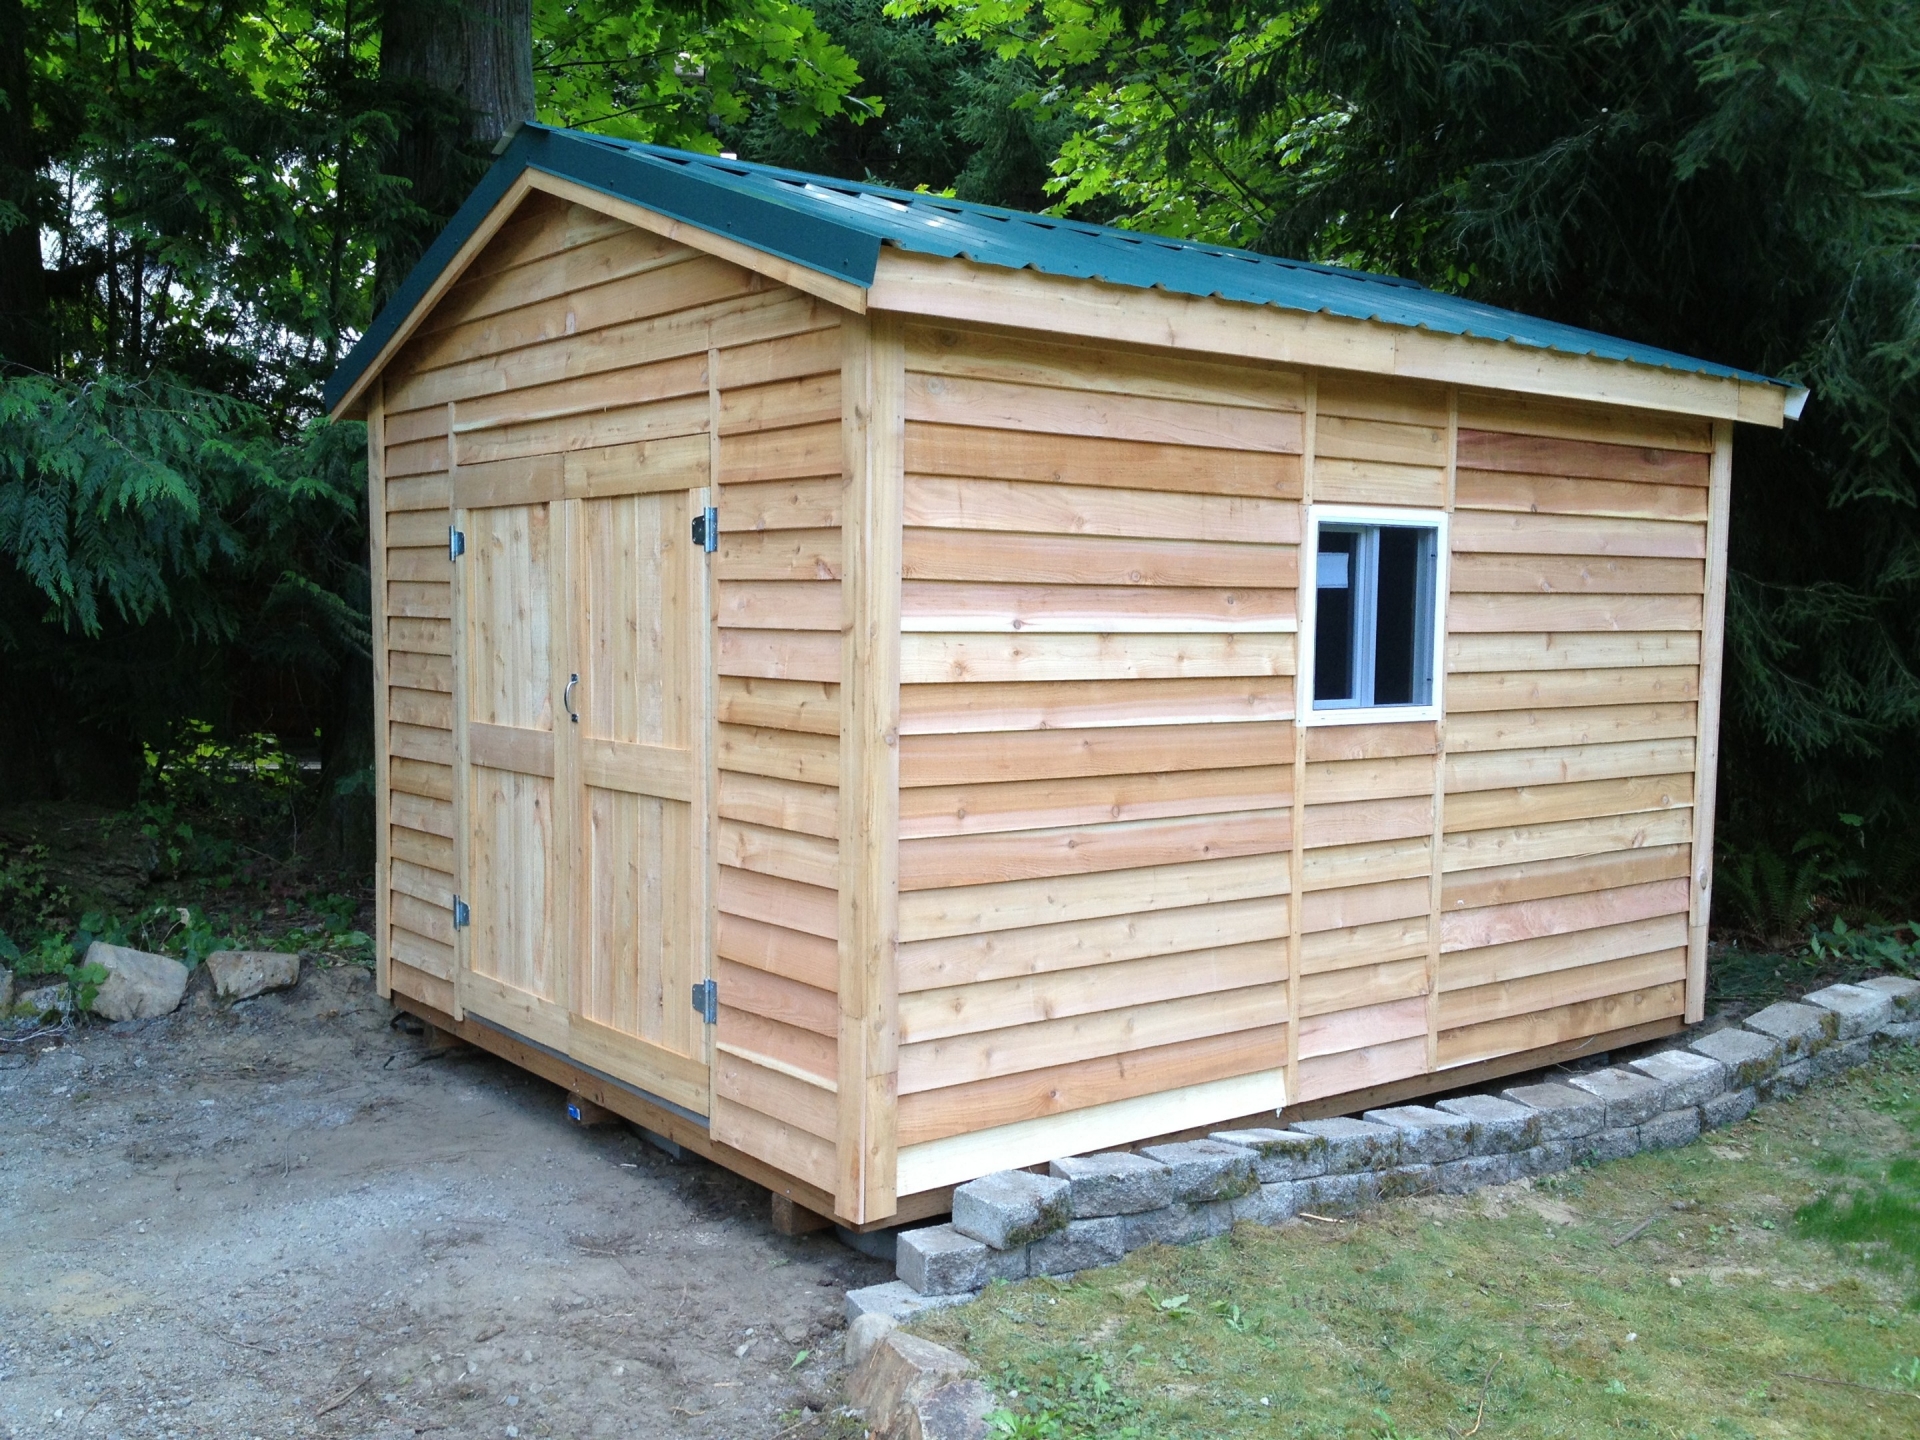
DIY Guide to Creating a Sturdy 10x12 Pallet Shed for Your Tools

Constructing a Robust 10x12 Pallet Shed: A Comprehensive DIY Guide
This guide provides a detailed, step-by-step approach to building a sturdy and weather-resistant 10x12 foot shed using reclaimed pallets. While utilizing recycled materials offers cost-effectiveness, careful planning and execution are crucial for ensuring structural integrity and longevity. This project requires basic carpentry skills and access to standard power tools. Always prioritize safety by wearing appropriate personal protective equipment (PPE), including safety glasses, gloves, and hearing protection.
Phase 1: Planning and Preparation
Thorough planning forms the foundation of any successful construction project. This phase involves material acquisition, site preparation, and detailed design considerations.
1.1 Sourcing and Assessing Pallets
The success of this project hinges on the quality of the pallets used. Source pallets from reputable suppliers or businesses that are discarding them. Inspect each pallet meticulously for rot, insect infestation, and structural damage. Prioritize pallets made from pressure-treated lumber, ensuring they are appropriately labeled and suitable for outdoor use. You will likely need between 30-40 pallets, depending on the desired wall thickness and height. Disassemble the pallets carefully, removing nails and staples before sorting usable lumber by length and condition.
1.2 Site Preparation and Foundation
Choosing the right location is critical. Consider factors such as accessibility, proximity to power sources (if needed for future lighting or electrical tools), drainage, and sun exposure. A level foundation is paramount. You can achieve this through several methods:
- Concrete Slab: Offers the most robust and permanent foundation, providing excellent stability. Requires professional installation or significant DIY effort.
- Gravel Base: A more cost-effective option. Excavate the area to a depth of 4-6 inches, compact the base, and add a layer of gravel, leveling carefully.
- Wooden Skids/Sleepers: Suitable for well-drained soil. Use pressure-treated lumber to create a frame, ensuring levelness with a spirit level.
Regardless of the chosen foundation, ensure it extends beyond the shed's perimeter for stability and prevents settling.
1.3 Design and Measurements
A detailed design is essential. Create a sketch or blueprint outlining the shed's dimensions (10x12 feet), wall height (approximately 7-8 feet), door location, and window placement (if desired). Determine the number of pallets needed for each wall, considering the spacing and overlap for strength. Account for the roof structure (discussed later).
Phase 2: Shed Construction
This phase focuses on the assembly of the shed's walls, floor, and roof. Precise measurements and careful construction techniques are crucial for structural integrity.
2.1 Wall Construction
Begin by constructing the walls individually. Interlock the pallets vertically, ensuring tight fitting. Use long screws or galvanized nails to secure the pallets together. Consider adding vertical supports â€" reclaimed 2x4s or 4x4s â€" at regular intervals to strengthen the structure. For additional stability, consider adding diagonal bracing between the vertical supports.
2.2 Floor Construction
Once the walls are complete, construct the floor. You can use the remaining pallet wood to create a floor frame, securing the planks to the foundation with screws or nails. You can also use plywood or OSB sheeting for a more robust, weatherproof floor. This layer should be secured to the frame to prevent movement and provide a stable surface.
2.3 Wall Erection and Securing
Carefully raise the walls, ensuring they are plumb and square. Temporarily brace them with supports until the floor is secured. Once the floor is in place, attach the walls securely to the floor frame using long screws or galvanized nails, reinforcing the corners with additional bracing.
2.4 Roof Construction
The roof is crucial for weather protection. A simple gable roof is recommended for this project. Construct the roof trusses using pressure-treated lumber and connect them to the top of the walls. Then, cover the trusses with plywood or OSB sheeting. Finally, add roofing felt or asphalt shingles for weatherproofing. Ensure proper overhang to protect the walls from rain.
2.5 Door and Window Installation (Optional)
If desired, install a door and windows. The door frame should be constructed from pressure-treated lumber and secured to the wall. Windows should be weatherproofed to prevent drafts and leaks. Pre-hung doors and windows will simplify installation.
Phase 3: Finishing and Refinements
This final phase focuses on improving aesthetics, weather resistance, and functionality of the shed.
3.1 Exterior Finishing
Apply a weatherproof sealant to all exterior surfaces of the pallets and the roof to protect against moisture damage. Consider painting the shed for aesthetics and further weather protection. A suitable exterior paint designed to withstand harsh weather conditions is highly recommended.
3.2 Interior Finishing
If desired, finish the interior with paint or sheeting. This will improve the shed's appearance and provide better protection for stored tools. Consider adding shelving units for efficient tool organization.
3.3 Security Considerations
Install a sturdy lock on the door for security. Consider adding additional security measures like window locks or a motion sensor light for added protection.
Conclusion
Constructing a 10x12 pallet shed is a rewarding DIY project that combines cost-effectiveness with sustainability. By carefully following these steps and prioritizing safety, you can create a durable and functional storage solution for your tools. Remember that thorough planning and attention to detail are key to the success of this project. Always consult local building codes and regulations before commencing construction.


0 comments:
Post a Comment