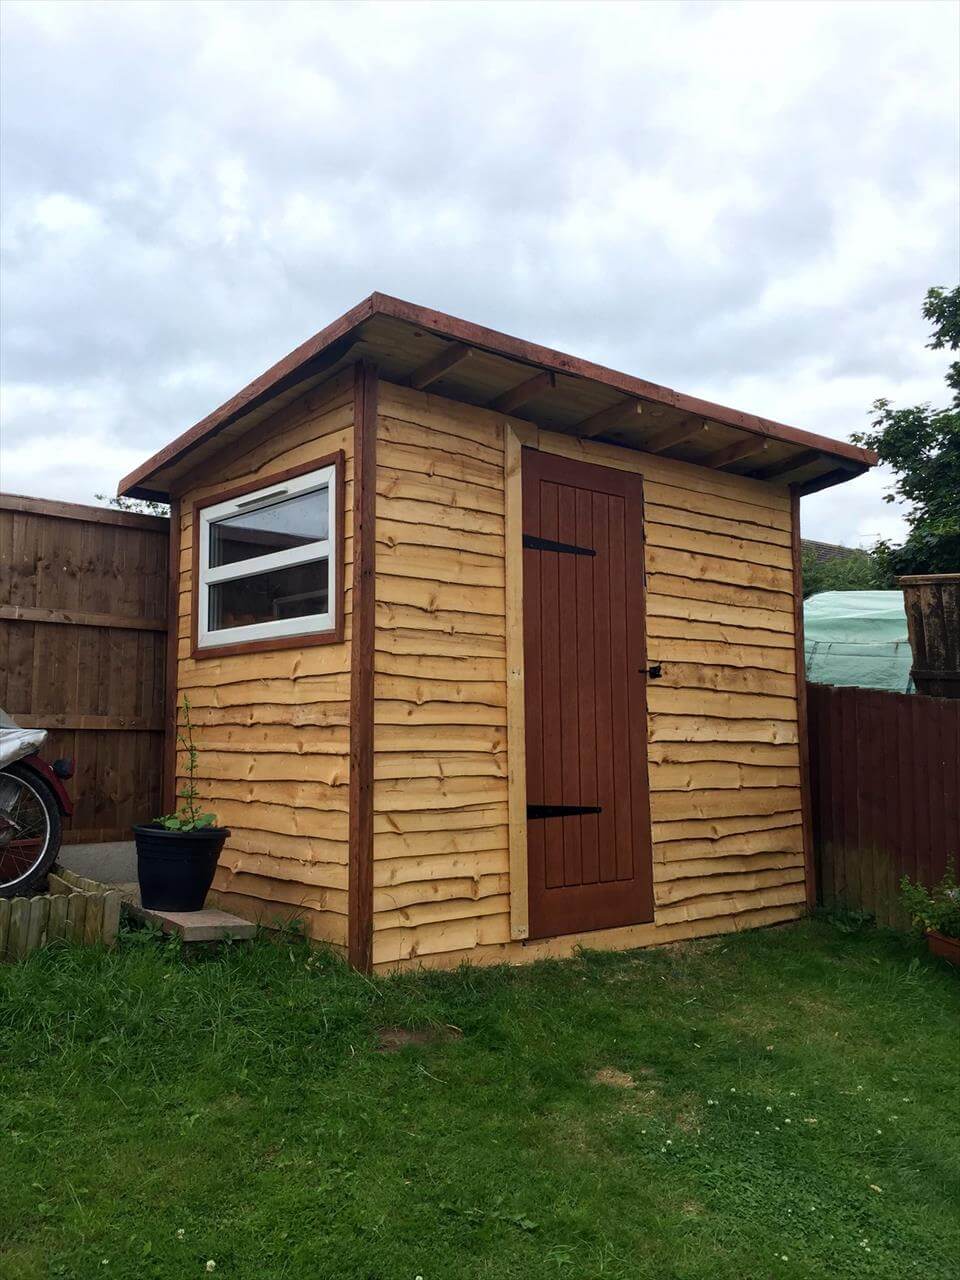
Build a Wood Pallet Shed: A Step-by-Step Guide to Easy Construction

Build a Wood Pallet Shed: A Step-by-Step Guide to Easy Construction
This comprehensive guide details the construction of a functional and aesthetically pleasing shed utilizing repurposed wood pallets. While seemingly a simple project, careful planning and execution are crucial for ensuring structural integrity and longevity. This guide assumes a basic understanding of carpentry and the use of common power tools. Always prioritize safety by wearing appropriate personal protective equipment (PPE), including safety glasses, gloves, and hearing protection.
I. Planning and Preparation
Before commencing construction, meticulous planning is paramount. This phase encompasses several critical steps that lay the foundation for a successful project.
A. Site Selection and Preparation
The location of your shed significantly impacts its usability and longevity. Choose a level, well-drained area with sufficient sunlight and access for ease of construction and future maintenance. Clear the chosen site of vegetation, debris, and any potential obstructions. Consider the proximity to existing structures and utilities.
B. Pallet Assessment and Selection
The success of this project hinges on the quality of the pallets employed. Inspect numerous pallets to select those that are structurally sound, free from significant rot, insect infestation, or damage. Prioritize pallets constructed from pressure-treated lumber, which offers superior durability and resistance to decay. Note that the dimensions of the pallets may vary; measure several to determine the overall shed dimensions. Aim for pallets of similar size and quality for consistency.
C. Material Acquisition and Tool Preparation
Beyond the pallets themselves, several additional materials are required. These include:
- Concrete or gravel for the foundation (depending on chosen foundation type).
- Pressure-treated lumber for framing, supports, and any necessary repairs or reinforcements to the pallets.
- Roofing materials (e.g., corrugated metal, asphalt shingles).
- Nails, screws, and other fasteners.
- Wood preservative (optional, but recommended for untreated pallets).
- Exterior paint or stain (optional, for aesthetics and protection).
Ensure all necessary tools are readily available and in good working order. This includes:
- Hammer
- Screwdriver (both manual and power)
- Drill with various drill bits
- Circular saw or hand saw
- Measuring tape
- Level
- Shovel (for foundation preparation)
- Safety glasses, gloves, and hearing protection
II. Foundation Construction
A stable foundation is essential for the longevity and structural integrity of the shed. Two primary foundation options are presented here:
A. Concrete Slab Foundation
This provides the most robust and durable base. Excavate the site to a depth appropriate for your local climate and soil conditions. Create a formwork to contain the concrete. Pour and level the concrete, ensuring proper curing time before proceeding with the pallet structure.
B. Gravel Base Foundation
This is a simpler and less expensive option suitable for lighter sheds. Level the ground and lay down a layer of gravel, compacting it thoroughly for stability. This approach is less resistant to shifting ground and may not be suitable for all climates or soil types.
III. Shed Frame Construction
The frame provides the structural skeleton for the shed. This section details the assembly of the pallet walls and roof structure.
A. Wall Assembly
Assess the pallets and determine how best to arrange them to form the walls. You may need to dismantle and reassemble sections of pallets to achieve the desired height and dimensions. Secure the pallets together using screws or nails, reinforcing connections as needed with additional pressure-treated lumber. Consider bracing the walls for additional stability.
B. Floor Construction
If not using the pallets for the floor directly, construct a sturdy floor frame using pressure-treated lumber. This frame should rest securely on the foundation. Plywood or additional pallets can then be affixed to the frame to create a solid floor.
C. Roof Construction
The roof design should consider local weather conditions. A simple gable roof is recommended for its stability and water runoff capabilities. Construct the roof trusses using pressure-treated lumber, ensuring proper bracing for stability. Attach the trusses to the top of the wall structure, creating an appropriately sloped roofline. Consider the weight of your roofing materials when designing the trusses.
IV. Roofing and Finishing
Once the frame is complete, the roofing and finishing touches are applied.
A. Roofing Installation
Install the chosen roofing material according to the manufacturer's instructions. Ensure proper overlap and sealing to prevent leaks. This step requires careful attention to detail to guarantee a waterproof and durable roof.
B. Door and Window Installation (Optional)
If desired, incorporate a door and/or windows. These can be constructed using additional pressure-treated lumber or repurposed materials. Ensure proper sealing and weatherproofing to prevent drafts and moisture ingress.
C. Finishing Touches
Apply a wood preservative and/or exterior paint or stain to protect the wood from the elements and enhance the aesthetics of the shed. This step is crucial for the longevity of your structure.
V. Safety Precautions
Throughout the construction process, prioritize safety. Wear appropriate PPE at all times. Use caution when operating power tools and follow all manufacturer's instructions. Ensure the work area is well-lit and free of obstructions. Consider seeking assistance for heavier lifting or more complex tasks.
Building a wood pallet shed is a rewarding project that combines sustainability with functionality. By carefully following these steps and prioritizing safety, you can construct a durable and aesthetically pleasing shed that will serve you for years to come. Remember to adapt this guide to your specific needs and local conditions.


0 comments:
Post a Comment