Design and build a cheap garden shed: diy tips

Alright, folks, let's talk garden sheds! You know that feeling, right? You're staring at your overflowing garage, the lawn mower looking like a grumpy beast, and you just know you need a dedicated space for all your outdoor gear. But the idea of hiring a contractor or spending a fortune on a pre-made shed makes your wallet cringe. Fear not, fellow DIY enthusiasts, because we're about to dive into the world of building your very own budget-friendly garden shed!
Step 1: The Planning Phase - It's All About the Blueprint
Before you start swinging a hammer (and trust me, you will be swinging!), it's crucial to plan everything out. This isn't just about deciding on the size, but also about the materials, the location, and the overall aesthetic you're going for.
Size Matters: Start by measuring the space you have available. Consider the types of items you want to store and make sure the shed is big enough, but not so big that it's overwhelming. Remember, you'll need some space to move around inside!
Location, Location, Location: Where will your shed live? Choose a spot that's relatively flat, well-drained, and accessible for you. Consider the sun exposure and whether you need to worry about things like wind or heavy rain.
Design Inspiration: Take a look at some shed designs online for inspiration. Are you drawn to the classic rectangular shape or something more whimsical? Do you need a shed with windows or maybe a small door for easy access?
Materials: Choosing Your Budget-Friendly Allies: This is where you can really make your shed shine! You'll want materials that are durable, easy to work with, and affordable. Consider using:
Recycled materials: Check your local recycling centers or salvage yards for things like used pallets, old doors, or even window frames. You might be surprised at the hidden treasures you can find!
Pressure-treated lumber: This is a great choice for the base of your shed because it's resistant to rot and moisture.
Plywood: You can use this for the walls and roof, and it's relatively inexpensive.
Metal roofing: It's durable, long-lasting, and easy to install.
Step 2: Foundation - Building a Solid Base
The foundation is the key to a strong and stable shed. You have a few options here, depending on your budget and the ground conditions.
Concrete blocks: These are relatively inexpensive and easy to lay. Just make sure you level them carefully!
Gravel pads: This is a simple and quick option, especially if you have good drainage.
Wooden skids: This is a great choice if you want to move your shed in the future. You can use pressure-treated lumber for the skids.
Step 3: Framing the Walls - Constructing the Skeleton
Now, it's time to build the framework for your shed.
Cut the lumber: Use your measurements from the planning phase and cut the lumber for the walls and roof. Make sure to use a saw that's accurate and sharp.
Assemble the wall frames: Connect the lumber using nails or screws, creating rectangles for the walls. Use corner braces for added stability.
Plumb the walls: Make sure the walls are straight and vertical using a level. You can use shims to adjust the walls as needed.
Step 4: Sheathing and Roofing - Adding Strength and Protection
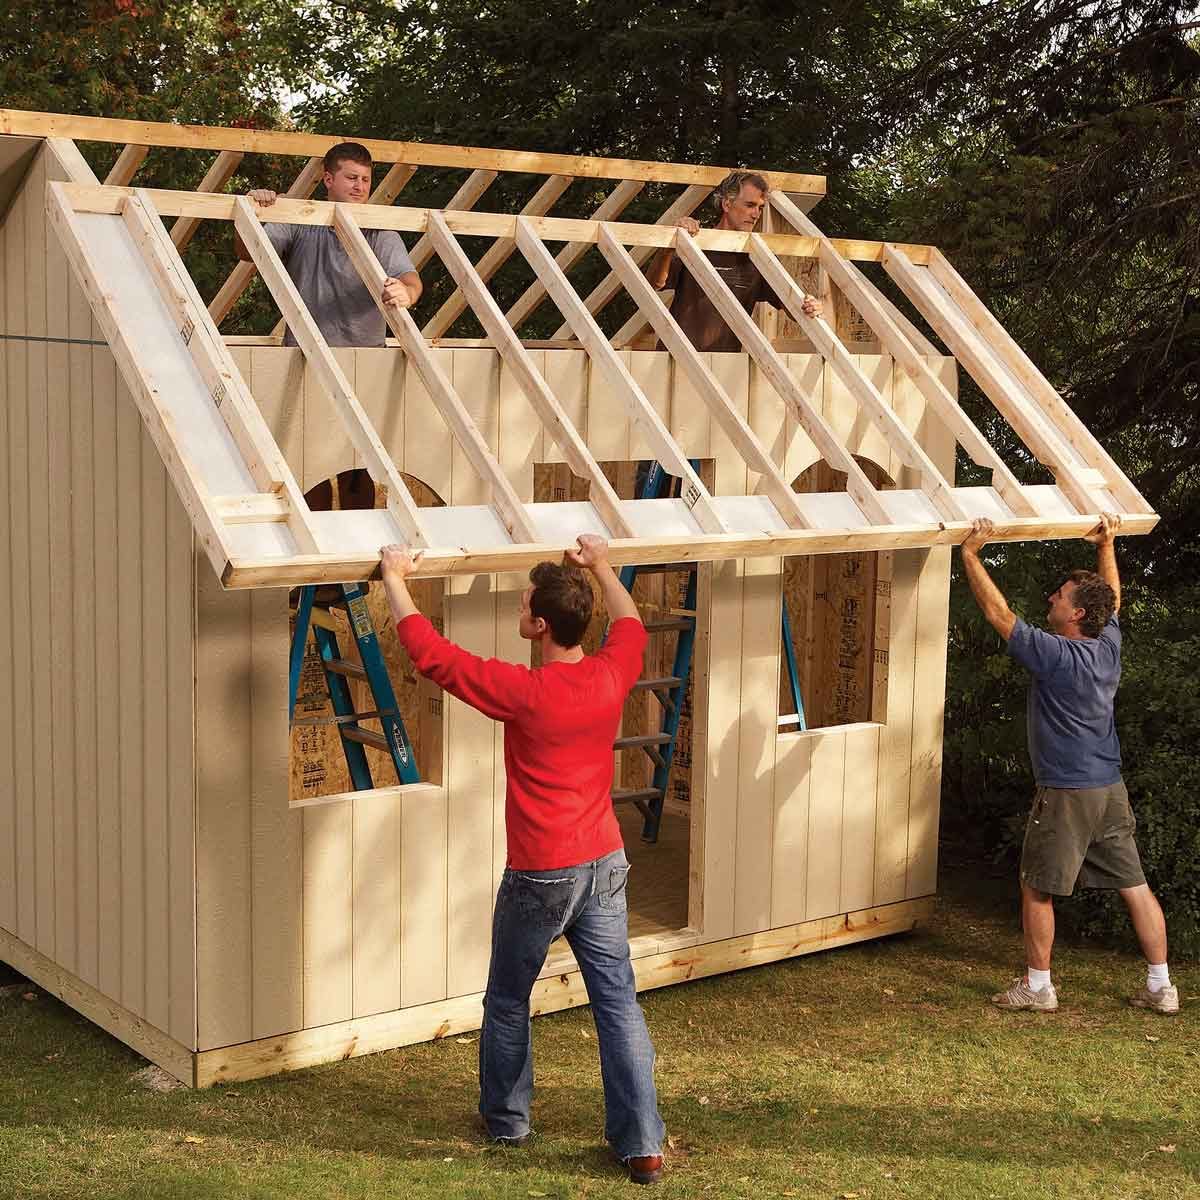
Once the frame is up, it's time to add the sheathing and roofing.
Sheathing: Attach plywood sheets to the walls and roof. This will provide a solid surface for the siding and roofing.
Roofing: Choose a roofing material that fits your budget and style. Metal roofing is a good choice because it's lightweight and durable.
Siding: You can get creative with the siding! Use reclaimed wood, vinyl, or even corrugated metal sheets for a modern look.
Step 5: Doors and Windows - Giving Your Shed Character
Now, you're ready to add those finishing touches!
Doors: You can reuse an old door, buy a new one, or even build your own using plywood and hinges.
Windows: Consider adding a window or two for natural light. You can use old window frames or buy new ones.
Step 6: Flooring and Finishing Touches - Bringing It All Together
The final steps are about creating a functional and comfortable space.
Flooring: You can use plywood, concrete, or even gravel for flooring. Just make sure it's level and waterproof.
Paint or stain: Give your shed a fresh coat of paint or stain to protect the wood and add some personality!
Shelving and Storage: Don't forget about the practicalities! Add shelving, hooks, and other storage solutions to maximize your shed's potential.
Tips and Tricks for Building a Budget-Friendly Shed:
Repurpose and recycle: Look for materials that can be used in your shed, like old windows, doors, or even pallets.
Buy in bulk: If you can, buy lumber and other materials in bulk to get a discount.
Ask for help: Don't be afraid to ask friends or family members for assistance with the more challenging tasks.
Take your time: Building a shed is a rewarding project, but it takes time. Don't rush, and enjoy the process!
Building a shed is a great way to add value to your property and create a functional and inviting space for all your outdoor gear. So, gather your tools, put on your DIY hat, and let's get building! Remember, it's about the journey, not just the destination. And don't be afraid to experiment and have fun with it!


0 comments:
Post a Comment